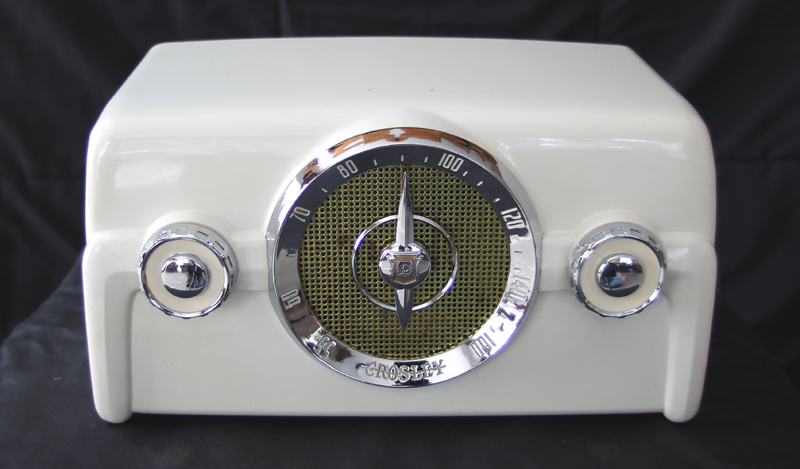
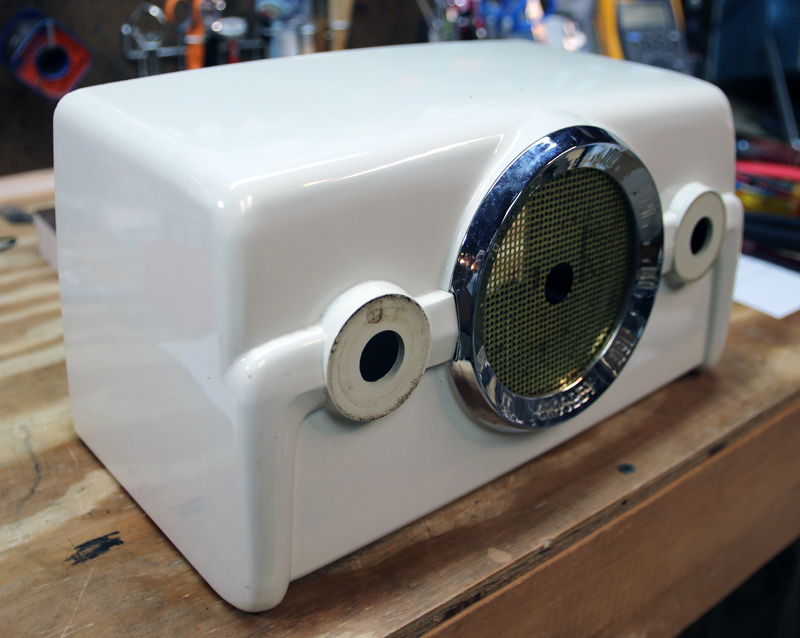
This cool little bakelite radio came from a yard sale near my home, and needed a bit of cleaning up and alignment. Crosley sold this model in several colors in 1950, and the photos i’ve seen of museum-quality pieces show this particular color was a bright, appliance white. This one was in great condition with 66 years worth of grime but no cracks or chips.
- Removed knobs (this was a challenge; they pull off but had gotten stuck until i put some cloth around the back of the knobs and lifted them away from the case)
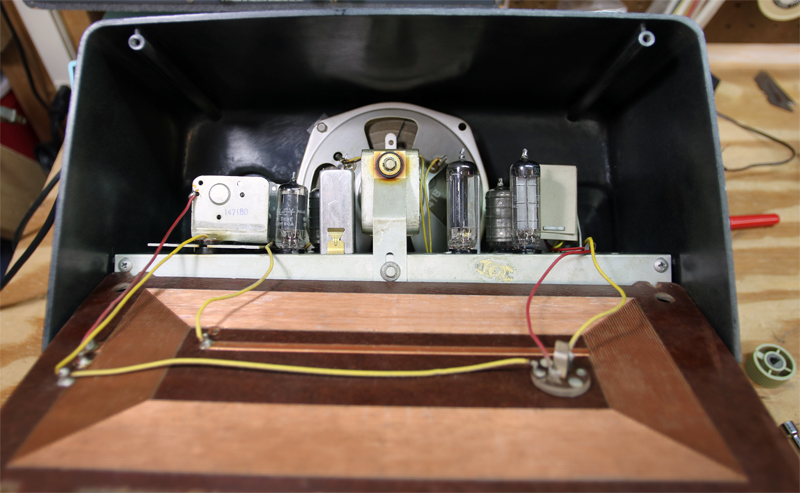
- After removing the chassis and the tubes, used a stiff bristle brush to remove dust, and alcohol dissoved and helped remove grime. After detailing, I oiled the chassis to prevent corrosion. It ended up looking like new.
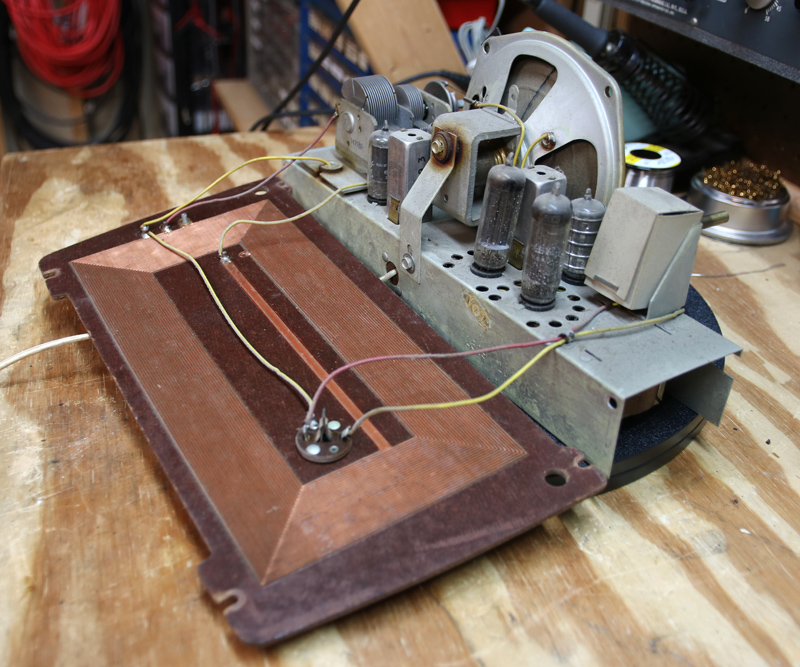
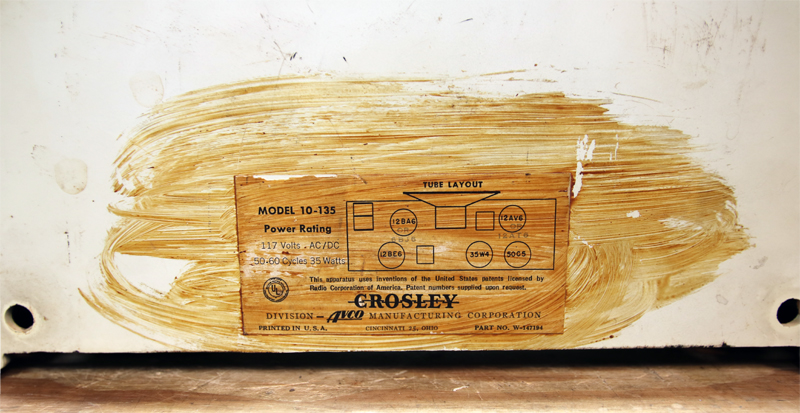
- There were tubes: 50C5, 35W4, 12AT6, 12BE6, and 6BJ6. All were Crosley-branded and all tested good!
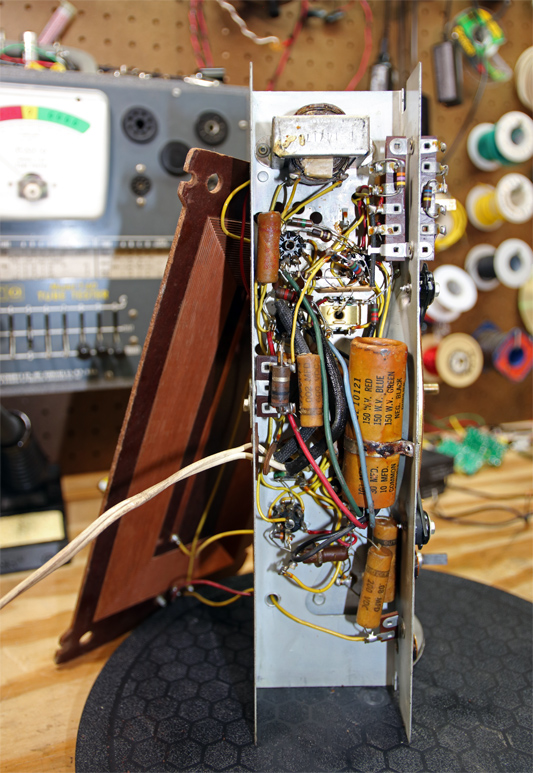
- Replaced all 7 electrolytic caps. There was a multi-section cap under the chassis, a filter cap rated 10/30/100 uF at 150V. This tested bad and was replaced with a new “firecracker” style with similar values.
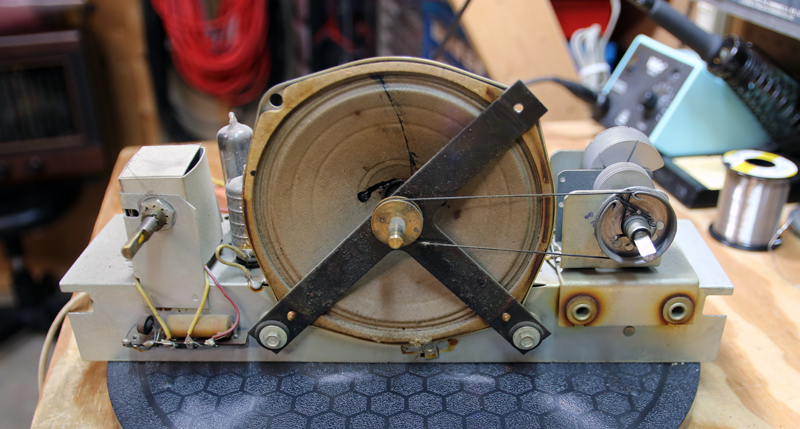
- Chassis and design are very conventional. Volume control was inside a box to prevent dust, and sure enough it was not scratchy. Since this was stapled in place, I left it alone. The dial assembly was just a simple dial cord to a brass pulley that the pointer rides on. This is very sturdy. The knobs are nicely made, cast metal and chrome plated.
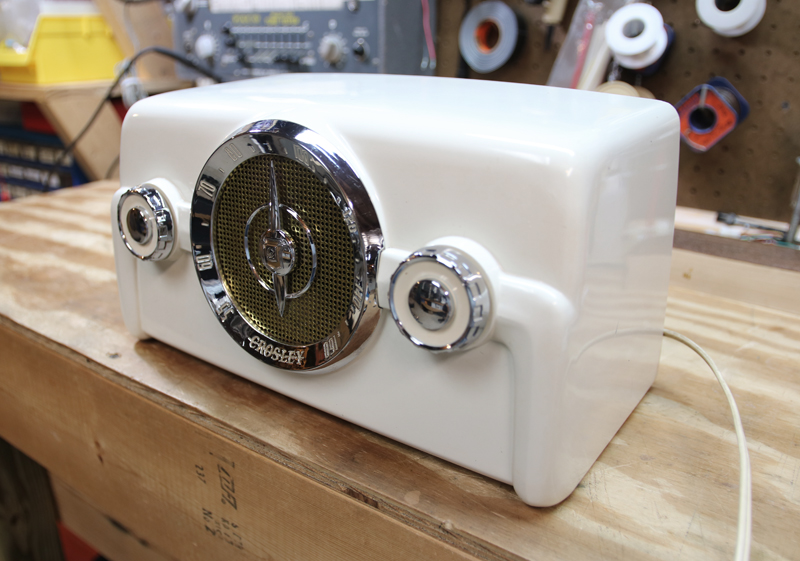
- The cabinet is a molded plastic or bakelite, with spray painted finish. This cleaned up nicely inside and out, using Windex. I did a little polishing on the top surface to remove a bit of abrasion. The original had 4 white rubber feet on the bottom that had dissolved into a mess. These were removed and replaced with 4 black rubber ½” feet. This worked out just right. Cleaned the knobs with windex. The original white line cord was in decent condition, so I left it intact, but cleaned it.
- Chassis was plugged into variac and slowly brought up to voltage over an hour or so. It powered up fine. Only a bit of alignment was needed. It’s not very sensitive, but works well enough. The loop antenna on the back seemed a bit too complicated.
- Re-assembled everything, and enjoy.
Tim McVey 2/27/2016


0 Comments