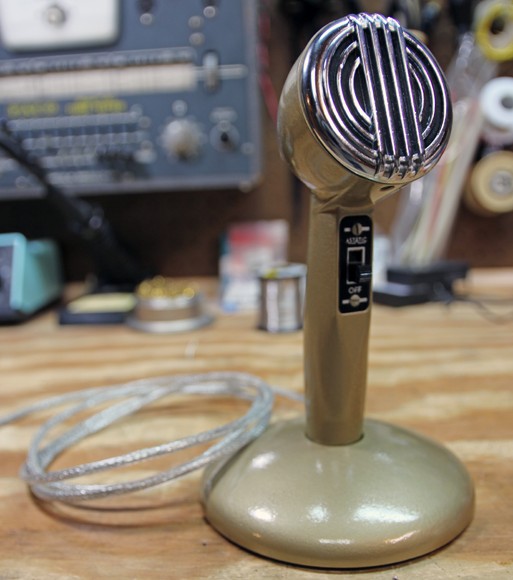
 I got a 1960’s era Astatic model 200-S microphone in a box of junk at a yard sale for $2 in the summer of 2012. This was the only thing I kept from the box. The mic was original, with the gray curley-cued cord and a weird connector on the end with a locking thread. It was in very bad shape, so I gutted it, then wire-brushed the case, and then sprayed on a primer coat. Then I used modern hammertone paint on it (Rust-Oleum “Hammered” #7210 Gold). The result was very nice. After cleaning and polishing the chrome face, the entire thing looks like new.
My intent was to restore this vintage mic, but unfortunately, the piezo element had degraded and the mic had almost no output. I designed & constructed a simple FET preamp to mount directly on the back of the mic capsule. The preamp worked well, but i still had lousy, weak audio. I read up on piezo mics and learned that this is a common problem, and that piezo crystals break down over time and stop working. So plan “B” was to gut the mic capsule and replace it with a modern element, and make the whole thing a modern USB microphone.
The way Astatic made the mic capsule was pretty cool. It was a dynamic, piezo design. Meaning: a very thin aluminum diaphragm attached on its circumference, roughly 2” in diameter. A piezo crystal was glued to the back of the mic capsule. A thin post extended from the center of the diaphragm, into the block of piezo material. The crystal was wired to a 2-terminal strip on the back of the capsule. So the inside of the capsule was airtight. The capsule itself had a perforated aluminum grid on the front, and the perimeter of the capsule sat in a rubber boot. This assembly then fit inside of the head of the mic. A switch was wired in the signal path to cut off the 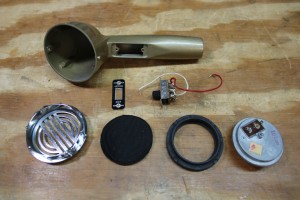 audio.
This project sat in my basement undone for a couple of years until in early 2016 I found a suitably inexpensive USB mic at MCM Electronics (Stellar Labs CM-1800U) to be cannibalized. I only wanted the electret module and the A/D – USB board, and hoped the components would be small enough to fit in the head or the handle of the Astatic mic case.
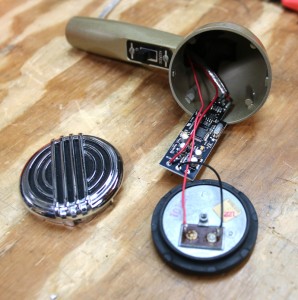
I carefully disassembled the original Astatic mic capsule, and poured out the white, chalky powder remains of the crystal. Discarding everything inside, I now had a nice cup to mount the new mic cartridge in. The Stellar Labs mic had a ½” mic element inside, mounted in a rubber carrier about 1.25” in diameter. There were 2 wires running down into the A/D board. This carrier was removed, then installed into the Astatic cup, using an o-ring as a spacer to keep the terminals from shorting on the cup. Rubber cement was used to secure all this. The two wires were soldered onto the terminals. Now I have a mic cartridge with a modern mic inside. Next, I connected these, through the switch (so the audio could be shut off if desired, and to give the switch a useful purpose), to the A/D board. This board had a type A USB jack on one end. I removed the USB jack and directly soldered a USB cable to this. I picked a nice-looking one with transparent insulation, and braided shield. This was fished through the handle, just like the original cordset had been.
Fortunately, the bo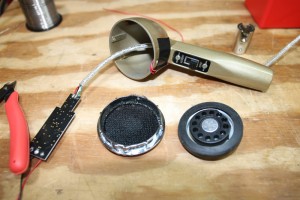 ard just barely fit inside the Astatic head in behind the cartridge cup. It had to be wedged in at an angle, so I protected the ends and inside the case with electrical tape. The cup went right back into its original position, and then the chrome decorative cover was reinstalled.
The re-purposed mic was then tested using Audacity, and it worked great! The mic sounds very clean, and flat. It doesn’t have much “personality” in terms of being bright or boomy. The noise floor is only about -70dBFS. But it sounds good, has a useful directional pattern, and is very convenient to plug into a PC. The max SPL is rated at 120dBSPL, and I notice that you have to speak pretty loud to get up to 0dBFS.
0 Comments